6 important rules that will make you a fitting expert
Want to install your own stretch fabric? It's entirely possible! Whether you're a keen DIYer or simply curious, our detailed tutorials guide you step by step to install your stretch ceiling or wall. You'll learn how to choose the right profiles, position the fabric correctly, and use the right accessories for a clean, tailored result. With our guides, fitting your fabric becomes simple and accessible, while improving the look and acoustic comfort of your space.
Holding the spatula correctly
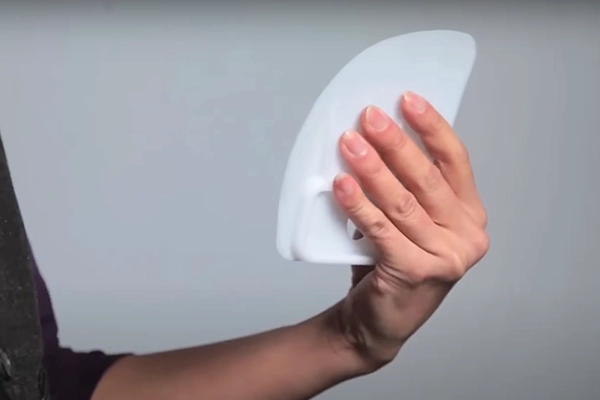
The spatula is shaped like a quarter moon. Only the "belly" of the spatula should be used
for fitting. Do not use the pointed ends during installation. Roll the belly of the spatula
along the groove of the profiles to make sure the covering is properly clipped into the
channel (this is also called "swaling the fabric"). Whatever SWAL™ profile reference you are
using, start by clipping the spatula into the profile channel empty (without the fabric).
Then let go of it. It will naturally settle into a position. This position shows you the
angle at which you should engage the fabric.
It is essential to use spatulas designed for stretch fabric.
Any other spatula from a different trade (filling knife, painting spatula, etc.) is not suitable.
A two-step installation
It is not possible to properly tension a wall or ceiling by starting on one side and finishing on the other. You must work in two steps without exception: hooking and tensioning. This is to respect the straight-thread rule. A textile behaves like a "mesh", with warp threads and weft threads. To get a perfectly tensioned fabric, you need to respect the linearity of the warp and weft weave as much as possible (horizontal and vertical threads, so to speak).
Hooking
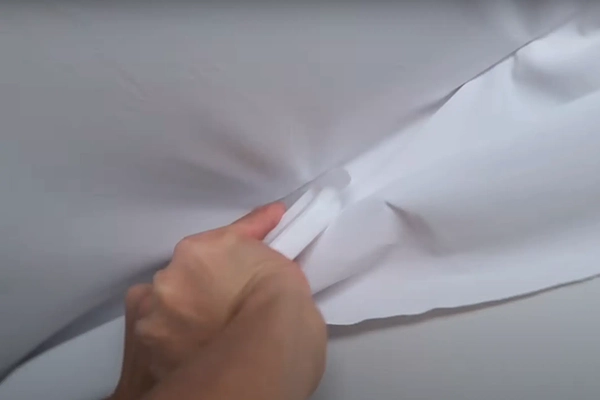
Hooking involves clipping the fabric roughly every 30 to 60 cm into the tensioning profile (the method is the same for stretch fabrics and stretch ceilings). This is the most important step. It deserves particular care. To ensure proper hooking of the fabric, the excess fabric must remain equal all along your wall or ceiling. For example, if you have 5 cm of excess at the start of your surface, you should still have 5 cm (give or take 1-2 cm) at the end of the hooked side. The same applies to the other 3 sides. At this stage, you do not pull the fabric yet, you simply position it.
Tensioning
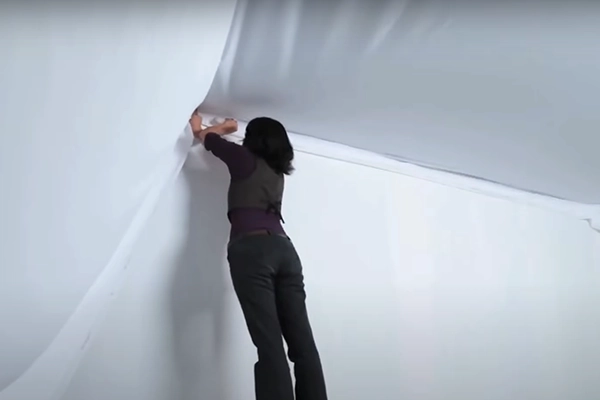
Now it is time to tension the covering and finish the work. Clip the fabric in between each existing hooking point, essentially adding hooks between the hooks already in place. During this operation, be sure to pinch the fabric with your fingers as you push it into the profile with your spatula. This will ensure a perfect tension. Then connect the hooking points to each other. Sometimes ripples will form as you connect your points; you just need to undo a few previously made hooks and reposition the fabric more "tautly".
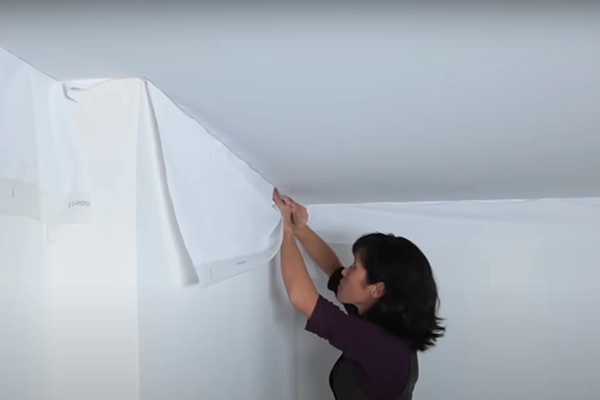
Trimming the excess
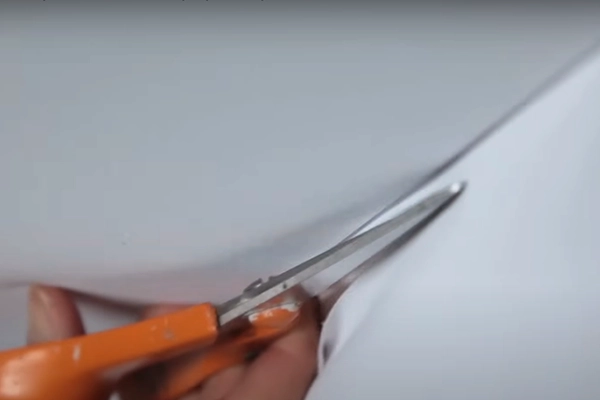
The excess can now be trimmed directly with scissors or a cutter, using the profile as a guide to cut straight and in a line. It can also be used to wrap the profile for a faux-piping effect.
Getting the most out of your stretch fabric
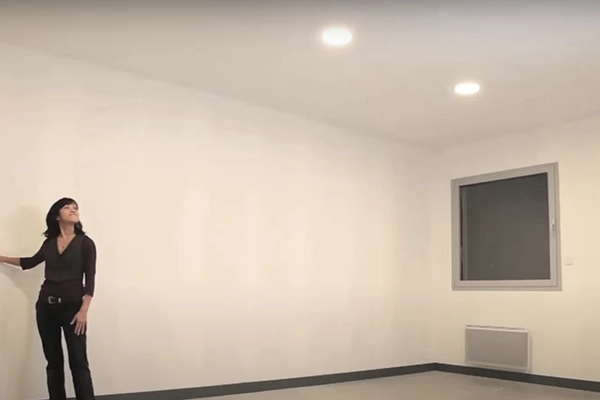
Stretch fabrics naturally give you acoustic treatment to get the best out of your favourite rooms, thanks to micro-perforation technology and sound absorbers (fleece, foam, mineral wool, etc.)