How to install a wall stretched fabric?
Installing a wall stretched fabric radically transforms the look of a room, without the constraints of a traditional painting or wallpapering project: no drying time, no joint touch-ups, and a surface that stays smooth over time. The wall fabric is tensioned cold, at room temperature, using ClipSWAL™ profiles fixed around the perimeter of the wall. This is what makes the installation accessible to a methodical DIYer, without complex professional tools: a fabric, tension profiles, a stainless steel spatula, a pair of scissors and a bit of care are enough to achieve a clean finish, without visible seams or wrinkles.
This guide details each step of the installation, from calculating the quantity of profiles to finishing the trim, based on the SWAL™ method. It also covers special cases (joining two panels, curved shapes) that may arise depending on the wall configuration.
Required materials
Before you begin, gather all of the following items to successfully complete your wall fabric installation.
- • ClipSWAL CSW 108 tension profiles
- • Wall stretched fabric
- • Padding (if you want acoustic treatment)
- • Stainless steel spatula
- • Pair of scissors
- • Staple gun and/or glue
- • Tape measure and pencil
- • Outlet and switch surrounds
02 - Installation steps
-
Calculate the required quantity of profiles
Everything starts with measuring the perimeter of the wall to be covered: height, width and cumulative length of the edges that will receive a profile. Remember to also calculate the perimeters of any windows or openings on your wall. This calculation determines everything that follows. We recommend adding one extra profile length to your order. This margin compensates for cuts and prevents running short during installation.
-
Prepare the surface
The surface must be clean, dry and free of significant irregularities. A dusty, greasy or uneven wall compromises both the adhesion of glued profiles and the hold of stapled ones. This is also the time to locate the positions of outlets and switches.
-
Fix the profiles and wall elements
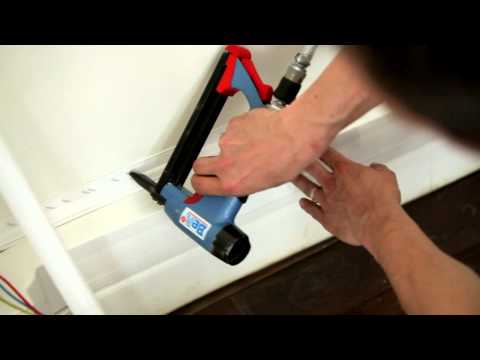
The profiles are positioned around the full perimeter of the wall, following the measured layout. They are first glued to the wall and then stapled for a secure hold. Also pay attention to the surrounds of outlets and switches: these must be glued before the fabric is installed.
-
Install the padding (if you want acoustic treatment)
The padding is rolled out and fixed over the entire surface before the fabric is installed. It conceals minor surface irregularities and enhances the soundproofing properties of the assembly once combined with the stretched fabric. It is cut slightly wider than the surface, then fixed in successive strips, avoiding wrinkles.
-
Tacking and tensioning
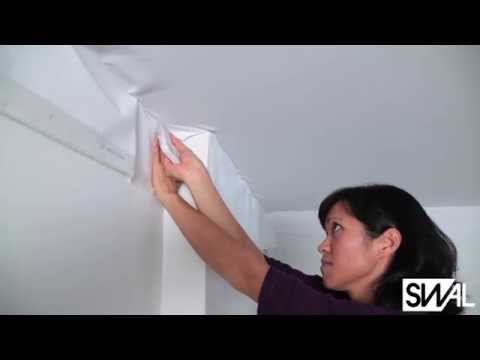
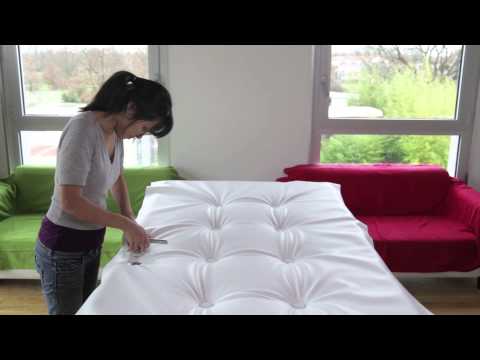
The most technical step, on the same principle as for a stretched ceiling. The fabric is first secured by tacking: a few anchor points inserted with the spatula to correctly position the fabric before any final tensioning. Tensioning is then carried out progressively, in successive sections around the entire perimeter, to distribute the tension evenly and avoid wrinkles.
-
Cut the excess fabric
Once the fabric is inserted and the tension verified over the entire surface, the excess is cut with a cutter flush with the profile. This step only takes place after the tension has been validated: cutting too early leaves no margin to correct a possible wrinkle.
-
Finish the trim (casing the trim strip)
Casing the trim strip covers the profile to make it invisible once the installation is complete. This final step gives the fabric its finished look, with no visible junction between the fabric and the wall.
-
Fit the outlet and switch surrounds
Once the fabric is tensioned over the entire wall, the fabric is cut precisely at the location of the electrical boxes, without compromising the tension achieved. The outlets and switches are then fixed directly over the fabric, ensuring a perfect hold and an impeccable finish.
03 - PRACTICAL TIPS & SPECIAL CASES
Seam between two panels
Wall stretched fabrics are available in 1.40 m width. Beyond that, a seam becomes necessary: a precise junction line and identical tension on both sides allow an invisible seam to be achieved once the trim strip is cased.
Handling curved shapes.
Wall stretched fabric adapts to non-rectilinear wall shapes, provided flexible profiles are used that can follow the curve, and the fabric cutting and spatula tensioning technique are adjusted in these areas. Unlike a right angle, a curved shape requires distributing the tension with small successive tacking points along the curve, rather than in one continuous motion, to avoid the characteristic false wrinkles of curved areas.