How to Install a Stretch Ceiling?
You can install a stretch ceiling yourself: you don't need to be a construction professional to achieve a clean, long-lasting result. With the patented ClipSWAL™ system and the right accessories, you can renovate quickly without major construction work.
Profiles, trimming, tensioning, finishing touches: we'll walk you through installing a stretch ceiling step by step.
01 - BEFORE YOU START
The tools you need
- • Tensioning profiles
- • Fitting spatula
- • Hot air gun (hot fitting)
- • Staples and/or fixing adhesive
- • Laser or spirit level
- • Scissors and tape measure
02 - Installation
The steps to install a stretch ceiling
-
Fix the profiles to the wall
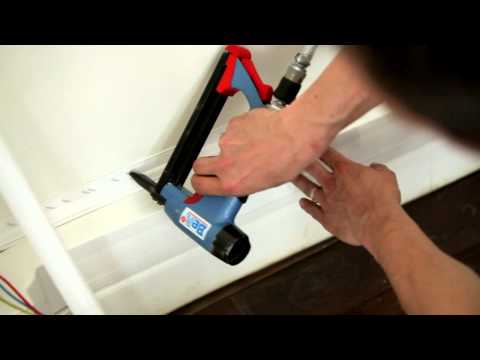
The profiles are fixed all around the room, at the height set for the future ceiling. They can simply be stapled, or glued then stapled for extra hold. Use a laser level to check that the height is exactly the same on every wall : even a small gap can quickly become visible once the fabric is tensioned. This step is also when the final ceiling level is decided.
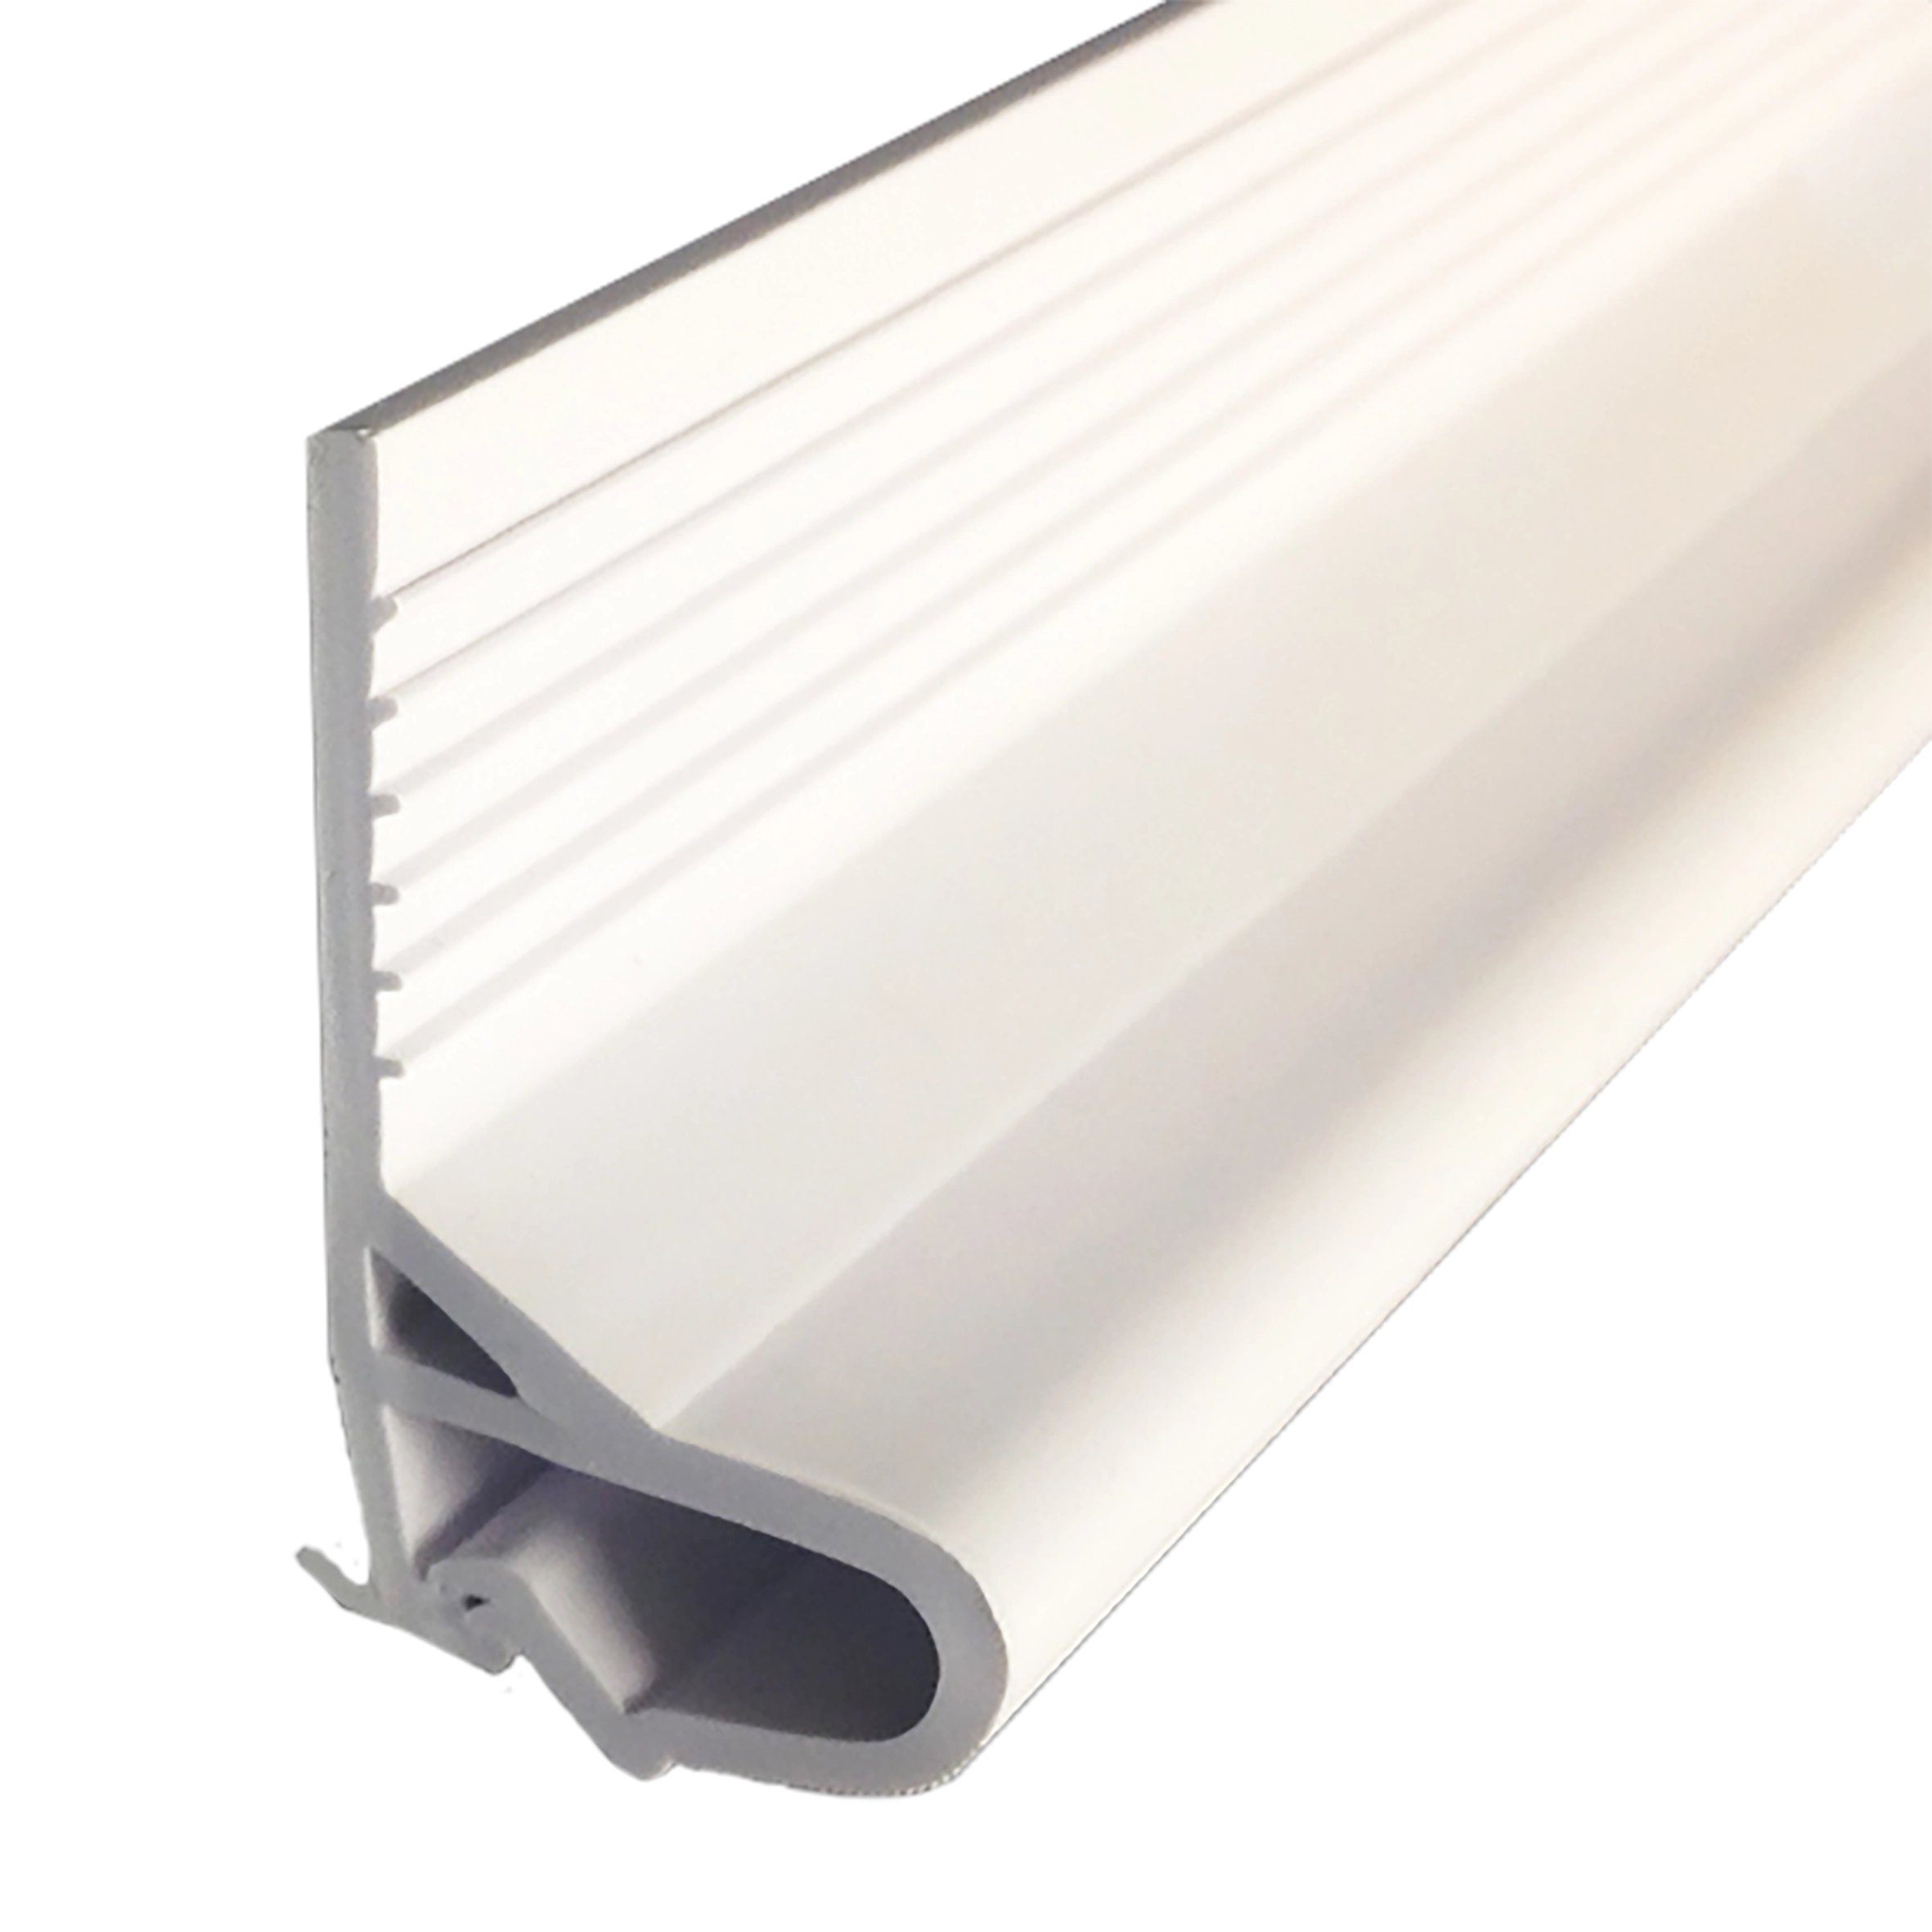
ClipSWAL™ CSW 200
Wall fixing
To lower the ceiling level: useful for hiding ductwork or adding acoustic insulation.
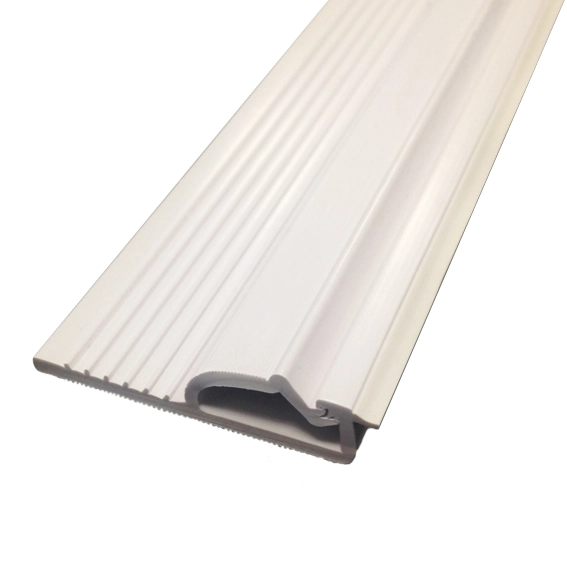
ClipSWAL™ CSW 201
Ceiling fixing
To keep the existing height: when the ceiling height is already limited.
Particular attention must be paid to the cuts at the corners. This is a crucial stage to ensure a perfect join between your fixing profiles and guarantee flawless tension in your future fabric. Depending on the room's layout, you will need to make specific cuts to match each corner.
Need a visual hand with your corner cuts ?
Check out our Les petits tutos video series directly on our Youtube page. We explain step by step how to get perfect inside corners and outside corners.
-
Choosing the covering: hot or cold fitting
PVC fabric (hot fitting) is heat-expandable : heated to 40 or even 50 °C with a hot air gun, it softens, is fixed into the profiles, then shrinks back as it cools for a perfect, wrinkle-free tension.
Coated polyester fabric (cold fitting) is tensioned directly at room temperature with a spatula, with no heating or special equipment needed. It is easier for a DIYer to work with, has no odour or emissions linked to heat, and works well with acoustic treatments.
-
Install the sub-structures
Before tensioning the fabric, everything that will need to pass through it must already be in place : spotlight supports, air diffusers, hatches or any other technical element. These sub-structures are fixed to the original ceiling or to a dedicated frame, at the exact planned location. Once the fabric is fitted, they will serve as anchor points for cutting and finishing each element.
-
Hooking the fabric
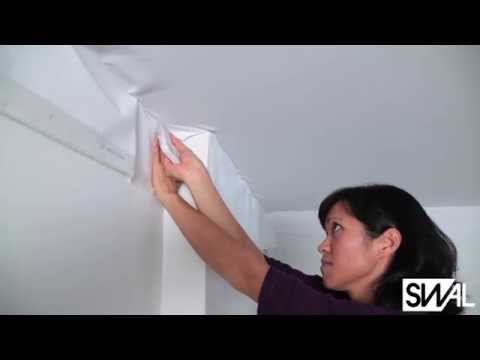

The first real fitting stage : the fabric is positioned in the profiles without tensioning it yet, hooking it in progressively all around, roughly every 30 to 60 cm. Make sure to leave enough material on all 4 sides (around 5 cm) so you can pull on it in the next step.
Key point : inside corners are left open and dealt with last, once all the straight sides are hooked in. The excess fabric must stay equal along each side : this is what guarantees even tension across the whole surface.
-
Tensioning the fabric
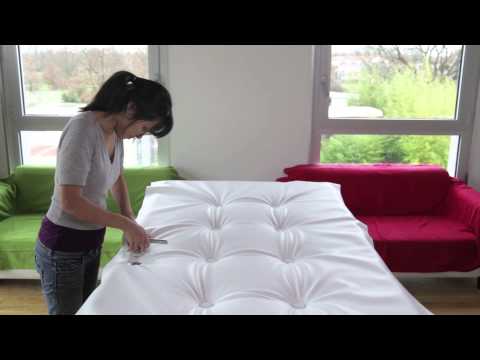
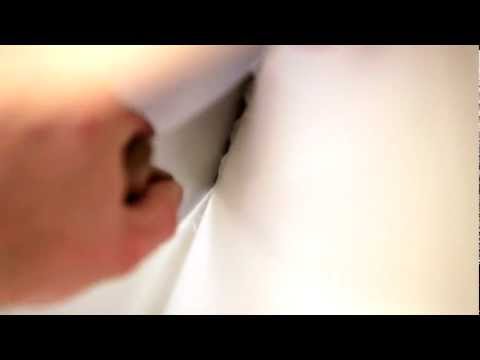

A textile is made of warp and weft threads : their line must stay as straight as possible throughout fitting. Never pull diagonally, always pull straight ahead : this is the straight-thread rule, the golden rule of fitting. Between each hooking point already in place, the fabric is clipped in by pinching with your fingers and pushing with the belly of the spatula into the profile groove, adding intermediate hooking points between the existing ones. If ripples appear when connecting the points, simply undo a few nearby hooks and reposition the fabric more firmly, without forcing it.
-
Finishing touches
Once the fabric is fully tensioned, the excess overhanging the profiles must be trimmed with scissors, as close as possible to the groove, without damaging the tensioned part. For a truly flawless result, you can then run a finishing wheel (or use the spatula) all along the wall. This lets you gently tuck in the last stubborn millimetres of fabric into the profile, guaranteeing a perfect finish.
-
Fitting the technical elements
Final step : the fabric must be cut precisely at the locations marked in step 3, using the sub-structures already installed as a guide. Spotlights, hatches, or any other technical element are then fixed onto them, with a suitable support to prevent any tearing or fraying of the fabric around the drilled point.
03 - OUR TIPS
Mistakes to avoid
Transparency, care mistakes, unsuitable sub-structures... Installing a stretch ceiling requires precision. To guarantee a flawless result, we have listed the most common mistakes and, above all, all our professional tips to avoid them every time.